
Derwent Edge - Peak District Walk
Monday 22nd August 2011
Another walk researching a route I was planning on writing up. The flowering heather meant the hills were turning pink but it also meant that in the warm sunshine the flies were out. In fact I have never seen quite so many flies in one place and as a result I made pretty rapid progress between Lost Lad and the Wheel Stones in an unsuccessful attempt to escape them.
Start: A57 lay-by (SK 1969 8642)
Route: A57 lay-by (Ladybower) - Ladybower Reservoir - Pike Low - Lost Lad - Back Tor (TP) - Derwent Edge - Whinstone Lee Tor - A57 lay-by (Ladybower)
Distance: 8.25 miles Ascent: 434 metrees Time Taken: 4 hours 15 mins
Terrain: Predominantly on clear paths but also crossing moorland.
Weather: Warm and sunny.
Pub Visited: None Ale Drunk: None
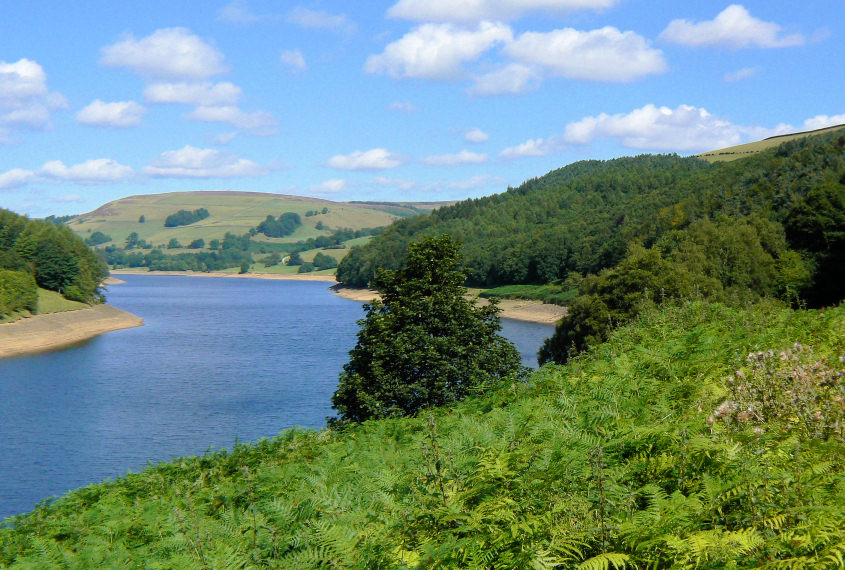
Looking along Ladybower to Pike Low, which would be my route onto Derwent Edge.
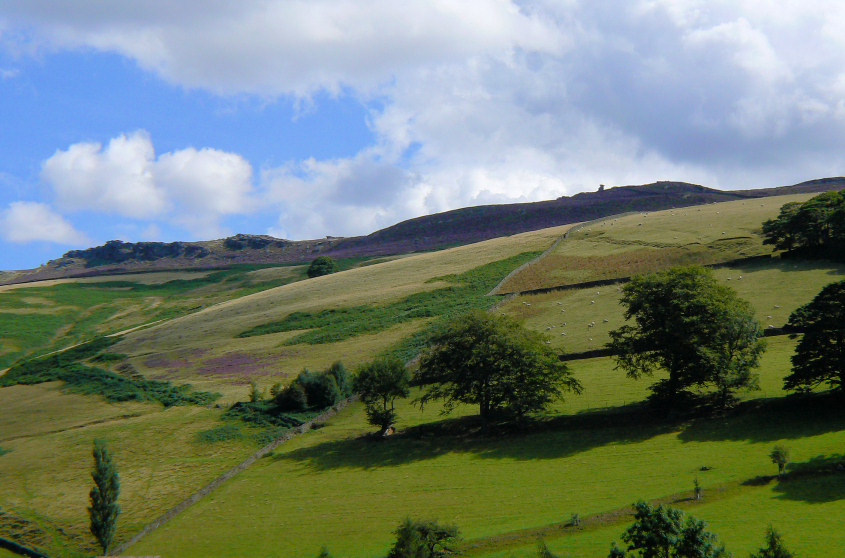
At Briery Side the Salt Cellar and Dovestone Tor come into view.
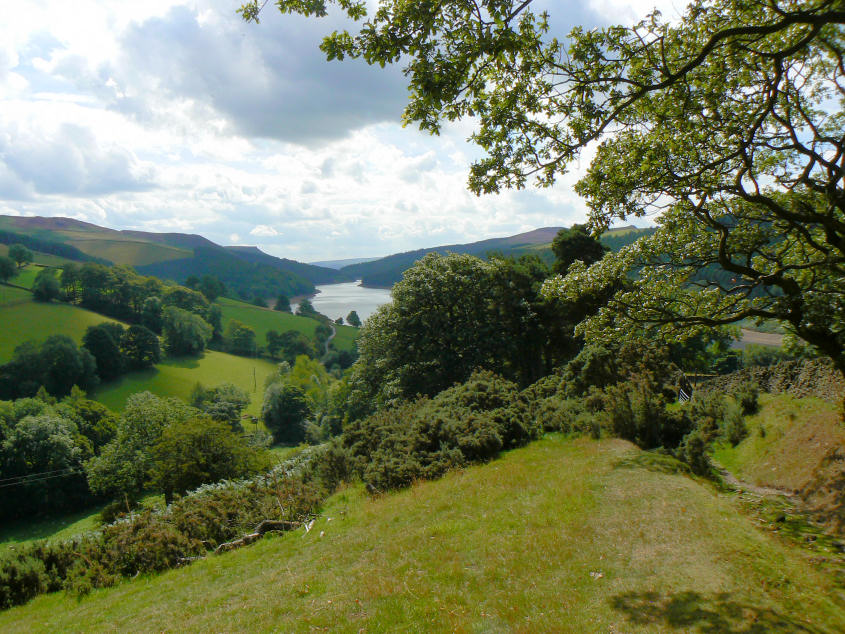
Looking back for a view of Ladybower.
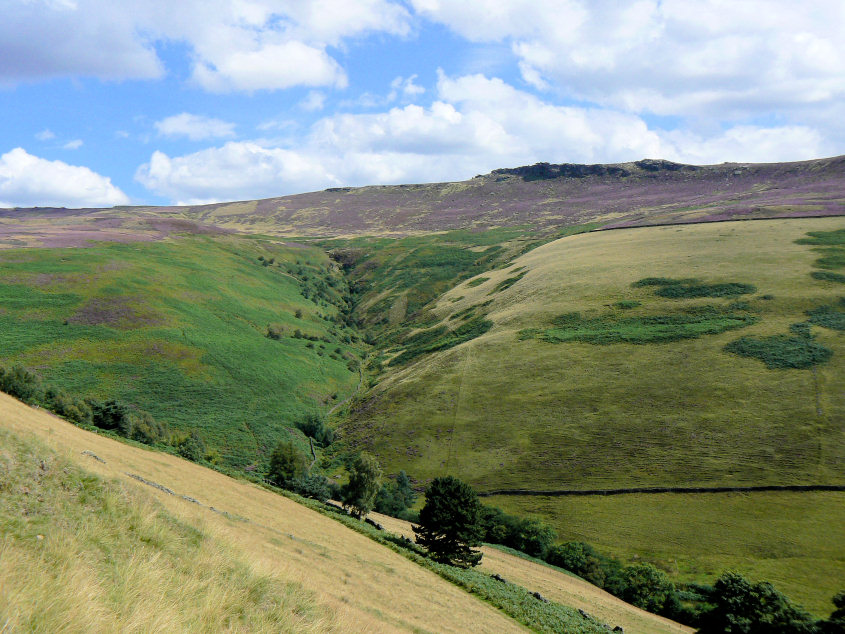
Dovestone Clough leading to Dovestone Tor.
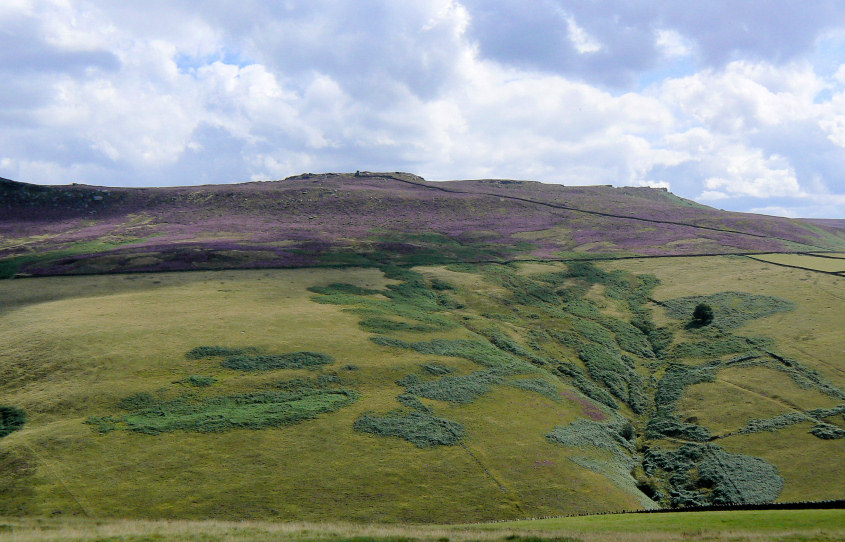
Looking back along Derwent Edge as I head along Pike Low.
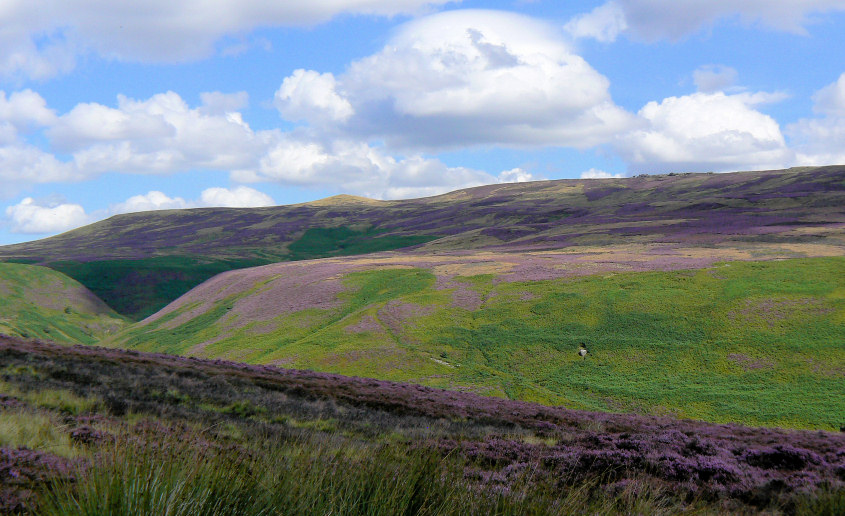
Ahead of me Lost Lad is caught in sunshine.
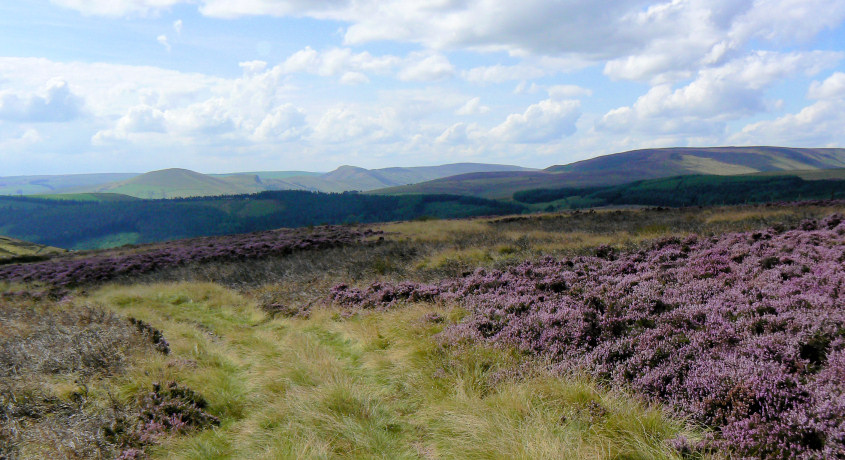
Crossing Green Sitches and the view now includes the ridge from Lose Hill to Mam Tor.
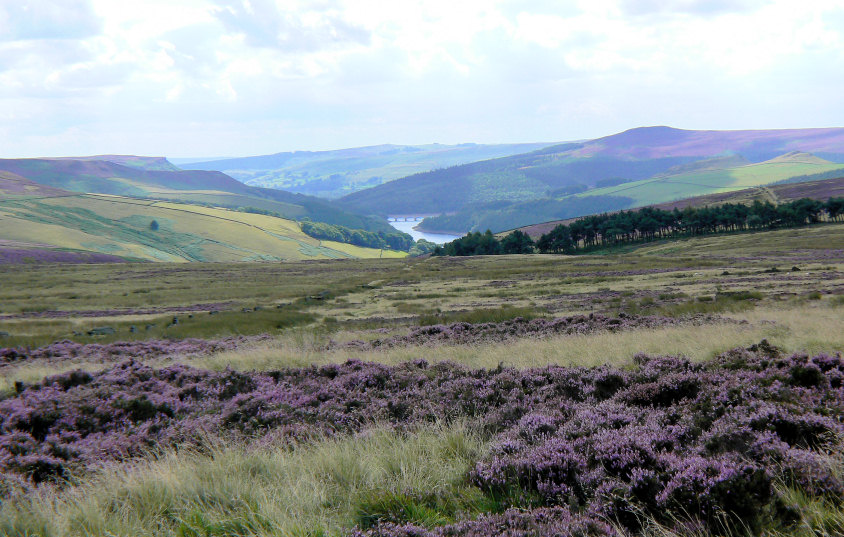
Win Hill and Ladybower from Green Sitches.
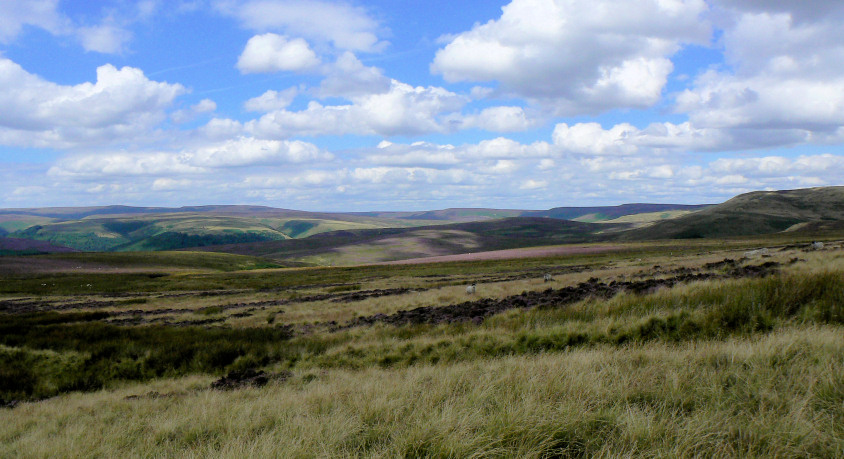
Heading towards Lost Lad and pausing for a shot of a distant Howden Edge.
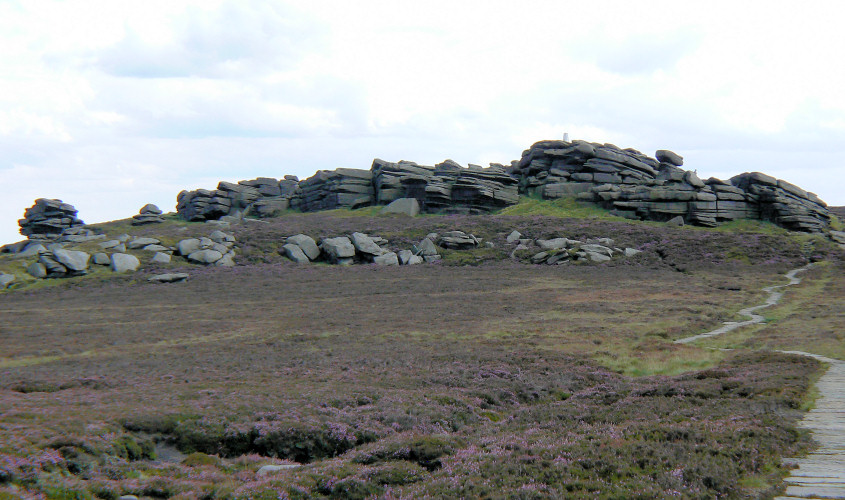
The air around Lost Lad was black with flies so I didn't linger there and instead made a dash for Back Tor, where the flies weren't quite as bad.
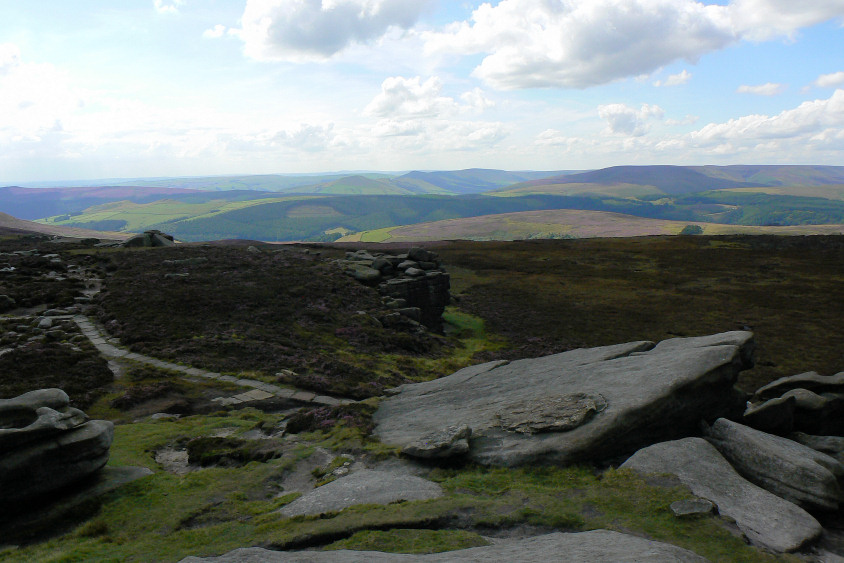
The view towards Kinder from Back Tor. I had planned on a lunch stop here but fly sandwiches didn't appeal so I moved on rapidly.
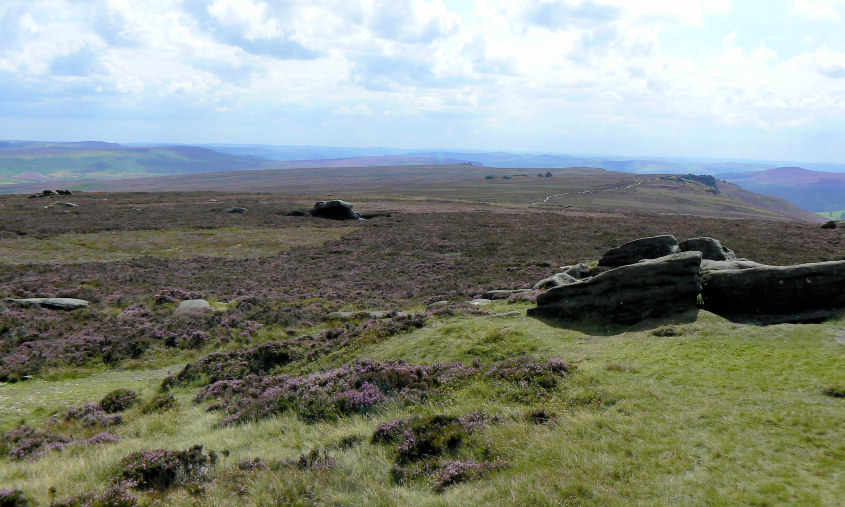
The view along Derwent Edge from Back Tor.
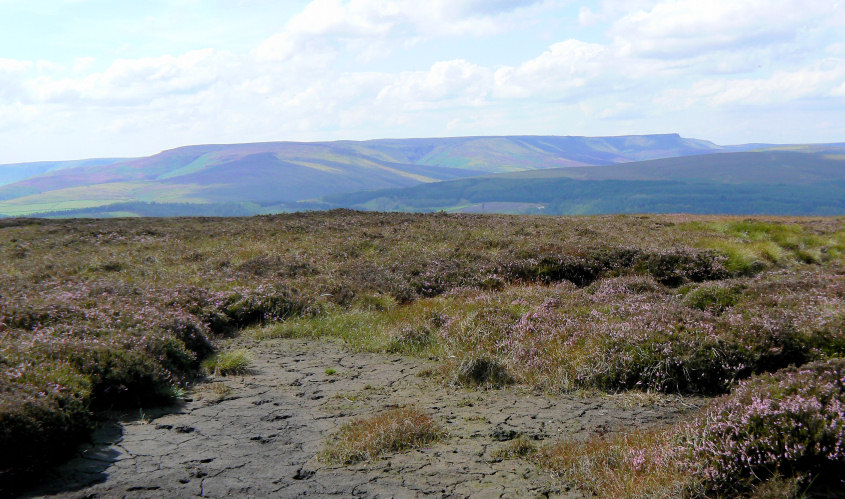
Having passed the Cakes of Bread I finally found a relatively fly free spot for lunch with a nice view of Kinder.
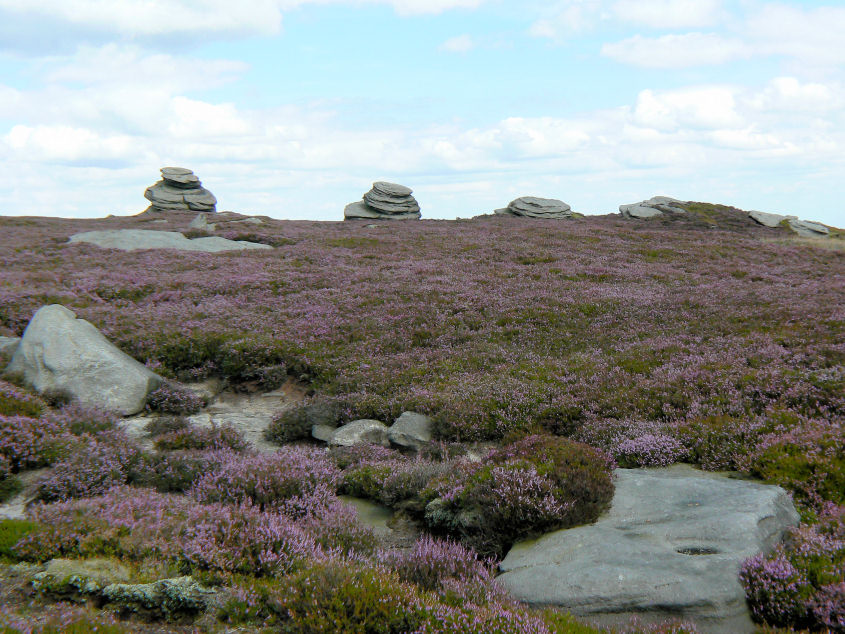
Looking back to the Cakes of Bread.
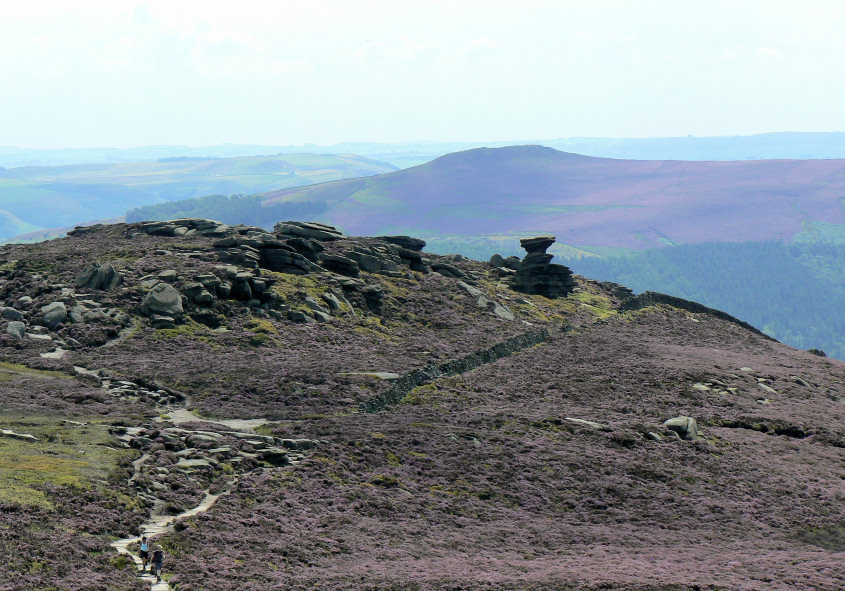
The Salt Cellar from Dovestone Tor.
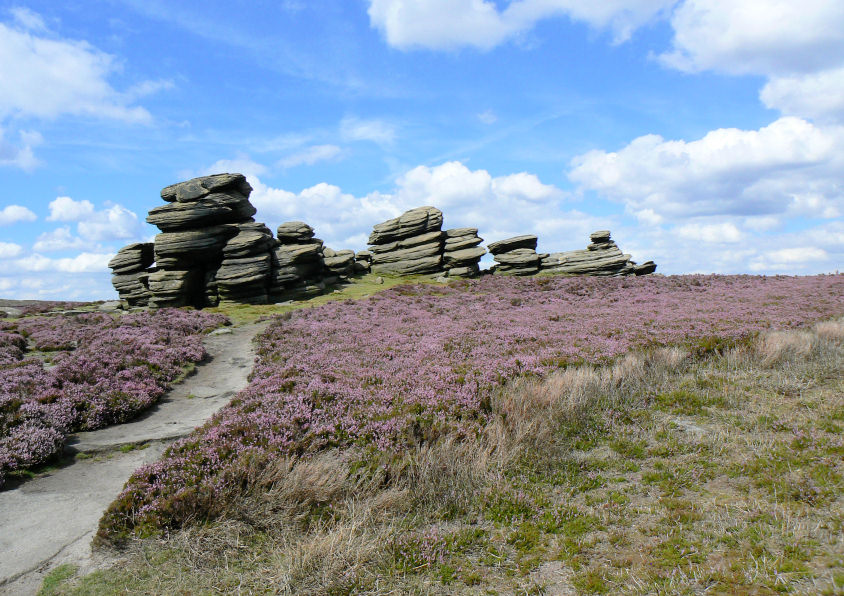
The Wheel Stones were popular toady with a few people attempting to scramble up them.
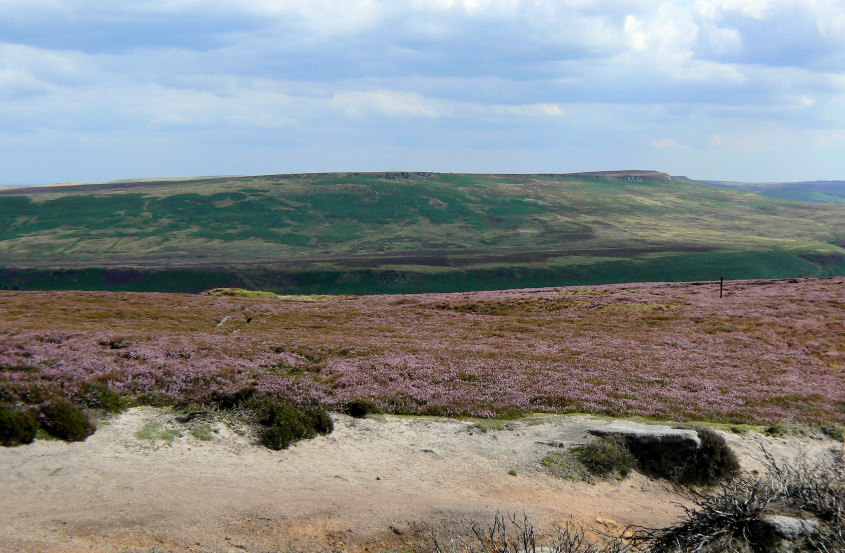
All the greens and pinks help High Neb to stand out as I approach Whinstone Lee Tor.
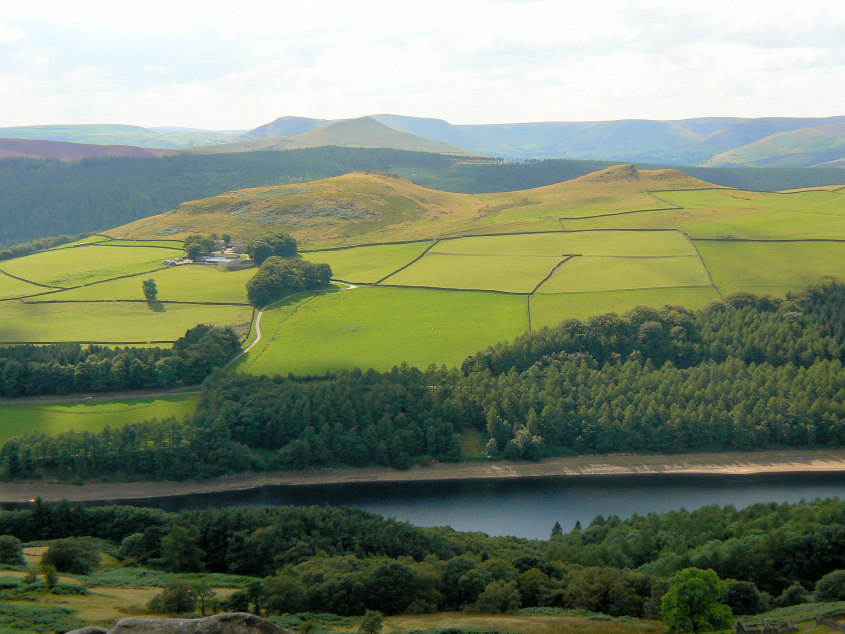
Crook Hill.
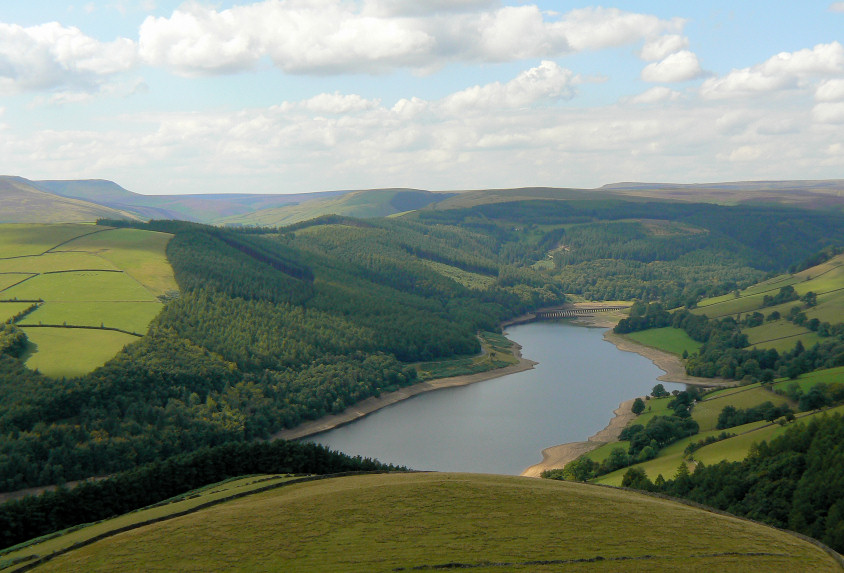
Ladybower from Whinstone Lee Tor.
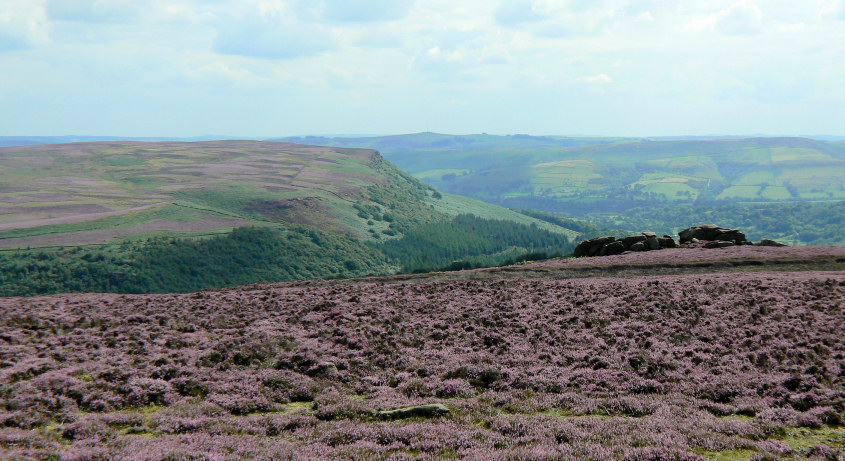
Bamford Edge.
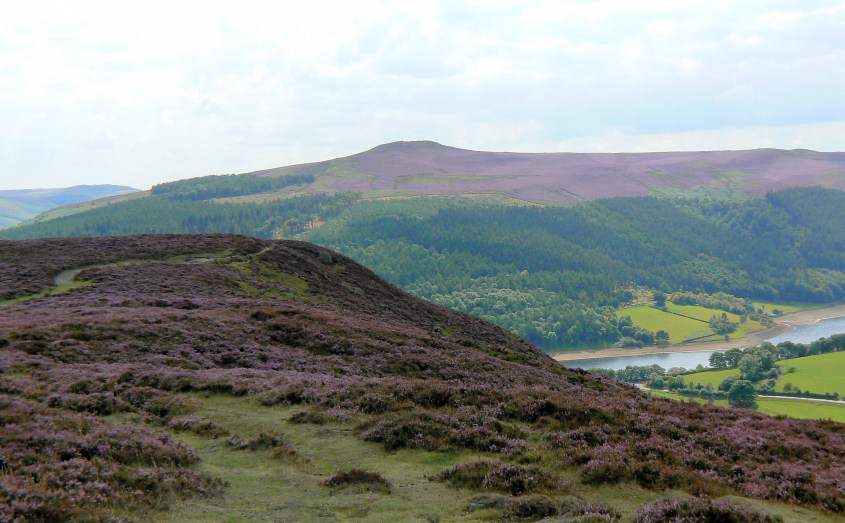
A final shot of Win Hill before I take the path off the edge back to the car.
All pictures copyright © Peak Walker 2006-2023